 When you have tiles in your shower, you will probably feel that they are invincible and hard-wearing. We think that we cannot encounter water damage behind shower tiles because they are “bulletproof”. Unfortunately, this is not always the case. The tiles behind your shower may withstand water fairly well, but water can be wicked into the shower walls and make your tile a victim of water damage.
Over time, the grout lines surrounding the shower tile will deplete and crack. This allows the water to seep through, which will result in water damage behind shower tiles and to the backer board. And, eventually, it leads to mold growth which can affect the healthy environment of your home.
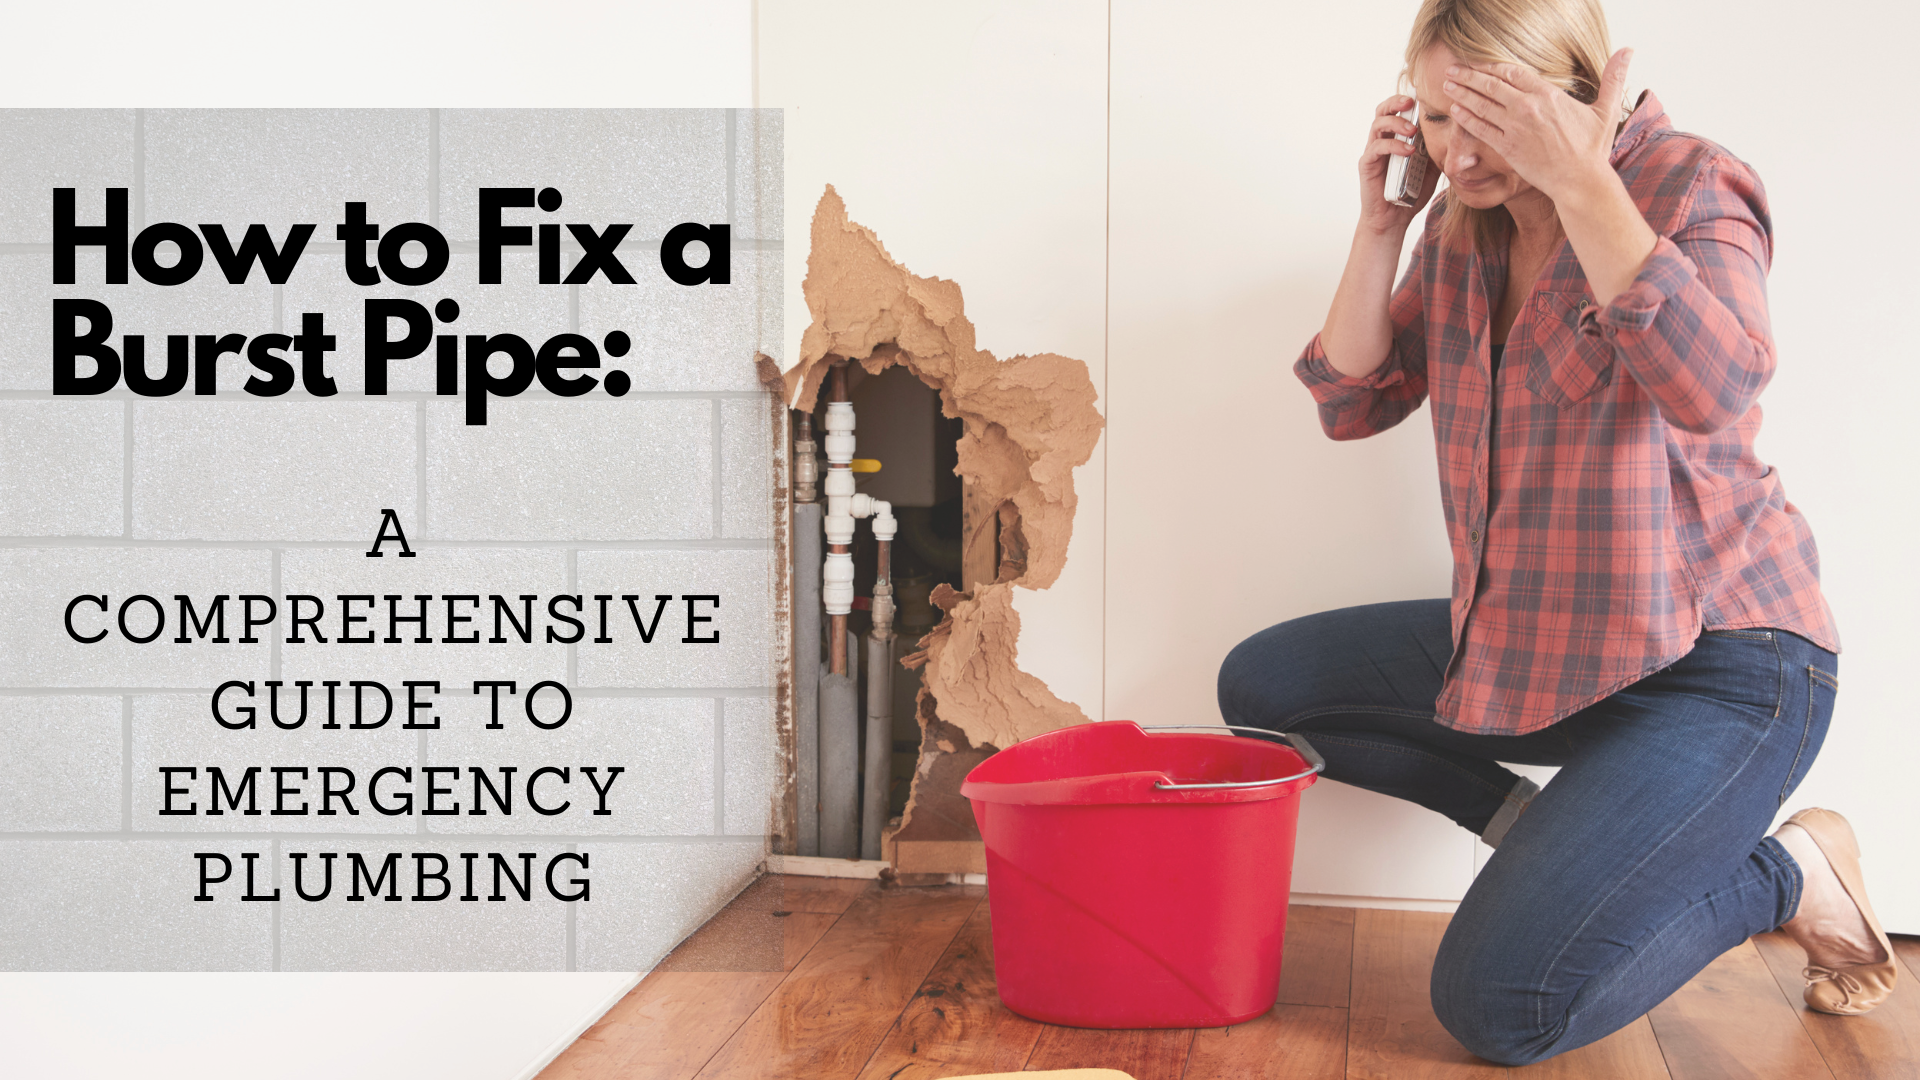
The problem with water damage behind shower tiles is that it is not immediately apparent. It happens slowly and quietly. By the time you notice it, you already have serious problems on your hands. In this article, you will learn the steps on how to repair water damage behind shower tiles.
How Can I Get Water Damage behind Shower Tiles?
There are several causes of water damage behind shower tiles. But, the most common cause is cracked or worn-out grout. The grout joints of the tiles are a cement-based product that is prone to crumbling and cracking. If it is not sealed properly, it will allow water to seep under the tiles.
Once the water begins to collect behind the tiles, it will dampen the backer board, causing the tiles to fall off and even foster mold growth behind the tiles. In some cases, the ceiling below the floor can also get affected once the water begins to leak down.
So, be watchful for any signs of water damage behind shower tiles such as musty odor, tiles coming away from the wall, and cracked tiles.
Repairing Water Damage Behind Shower Tiles
Once you notice water damage behind shower tiles, repair them immediately to prevent costly repairs and restoration. But before you begin the repair job, make sure to assess the damage first. In most cases, the problem occurs because of water seepage into the backboard. Other times, water damage behind the shower tiles can be a cause of plumbing leaks within the walls.
Contact a professional plumber to check and repair the damage. Then, follow these steps.
Step 1: Slowly Remove the Tiles
Using a flat pry bar or a putty knife, slowly pull off the loose tiles from the wall. Remove enough tiles to completely expose the damaged area as well as the surrounding area. Take your time removing the tiles to prevent them from cracking. Once they are pulled off, soak the tiles with warm water and detergent so they are easy to clean.
Step 2: Cut out the Damaged Drywall
Using your hand, remove the damaged drywall into pieces. Then, cut another 2 inches of drywall around the damaged area with a utility knife or wallboard saw. You should also remove all nails or screws in the affected area.
Step 3: Clean and Dry Wooden Studs
To prevent mold growth, clean unaffected wood using a solution of water and bleach. Ensure the wall is completely dry. If any wood is rotted, remove and replace it.
Step 4: Clean the Tiles
Using a putty knife, carefully scrape off any leftover drywall residue or adhesive from the tiles. Thoroughly clean the tiles before proceeding.
Step 5: Install a New Cement Board Patch
Install a cement board that is as thick as the original backer board. Cut a cement board with a size that allows ¼ inch gap between the board and the original drywall. Fasten the board to the wall studs with board screws.
Step 6: Tape and Mud the Wall Joints
Apply self-adhesive drywall mesh joint tape to the cement board. Then, fill the seams with thin-set adhesive around the patch. Allow the adhesive to dry completely.
Step 7: Reinstall the Clean Tiles
Apply an even layer of thin-set adhesive to the wall with a notched trowel. Then, set the clean tiles into the wall, aligning the joints with intact tiles. Allow the adhesive to dry and apply a grout to fill the joints. Use a grout that is similar to the original. Finish the installation by sealing the grout with a good grout sealer.
How Can I Prevent Water Damage To My Shower Walls
Because repairing water-damaged shower walls is indeed costly and time-consuming, take some ways to prevent them from occurring again in the future. Here are some ways to prevent water damage from your shower walls.
- Address any water leaks immediately.
- Avoid using acidic cleaners when cleaning your bathroom.
- Reseal tile grout at least once a year.
- Control the humidity of your bathroom by upgrading its ventilation system.
- Occasionally check tiles for a hollow sound when tapped.
Need Help With Water Damage Behind Your Shower Tiles? Contact Water Damage Riverside
If the damage seems big and you need help restoring your shower tiles, contact professionals at Water Damage Riverside. Handling water-damaged shower walls is often a big task and may require some expertise. Our water damage restoration specialists are skilled and experienced in handling any type of water damage. They will ensure that the source of the damage is fixed and your shower walls are back to their original condition.
Contact us today to get the job started.