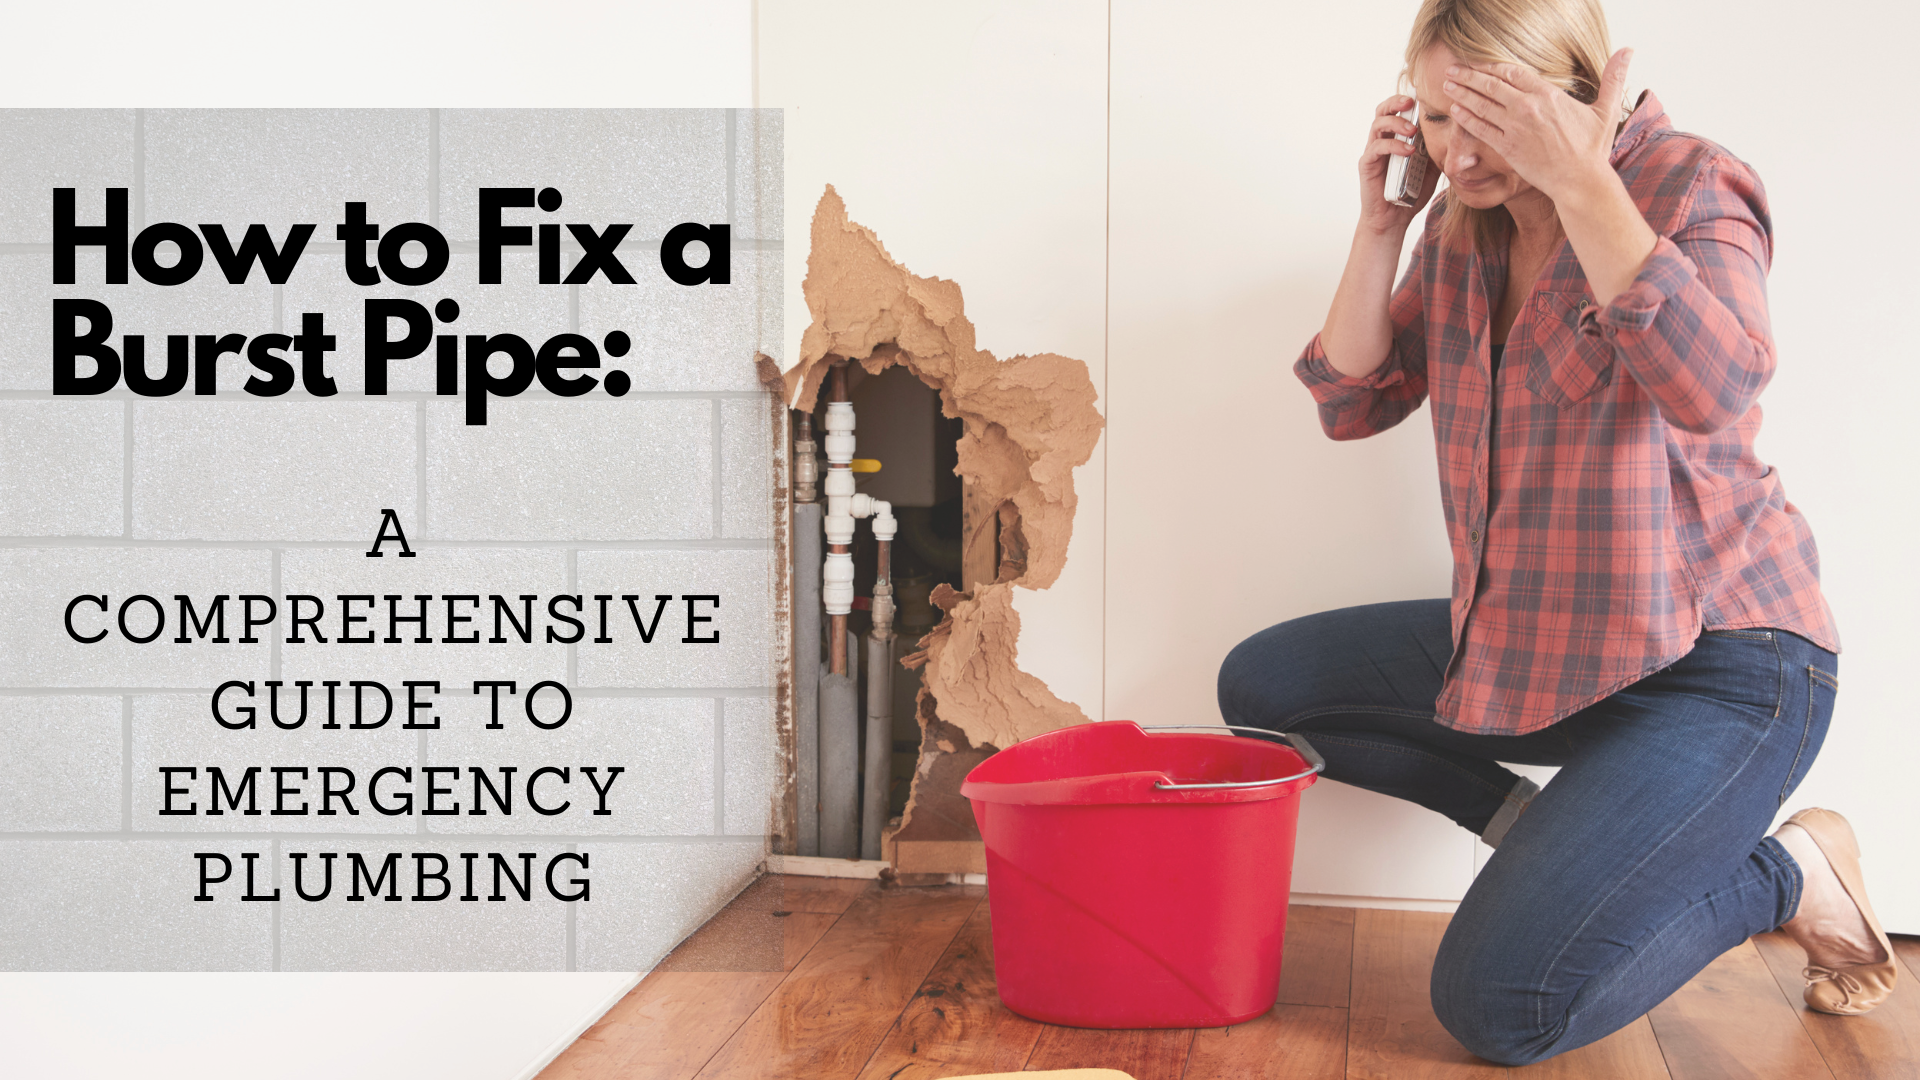
How to Fix a Burst Pipe
A burst pipe can be a homeowner’s worst nightmare, causing extensive damage to the property and disrupting daily life. Whether it’s due to freezing temperatures, age, corrosion, or accidental damage, a burst pipe requires immediate attention to minimize water damage and prevent further complications. In this comprehensive guide, we will walk you through the step-by-step process of how to fix a burst pipe, from identifying the issue to implementing temporary measures and performing permanent repairs. By following these instructions, you can effectively handle the situation and protect your home from potential water-related disasters.
1. Identifying a Burst Pipe
Identifying a burst pipe is the crucial first step in addressing the problem effectively and preventing further damage. Burst pipes can lead to significant water leaks, causing immediate and potential long-term damage to your property.
a. Common Signs of a Burst Pipe:
- Water Leaks. The most obvious sign is water seeping through walls, ceilings, or floors, and puddles forming around plumbing fixtures like sinks, toilets, or bathtubs. Watch for sudden increases in your water bill, which could indicate a hidden leak.
- Low Water Pressure. Another common sign is a sudden decrease in water flow from faucets or showerheads. A burst pipe may cause water to leak before reaching its destination, leading to reduced water pressure.
- Unusual Noises. Burst pipes can create unusual sounds, such as banging, gurgling, or hissing. These noises often occur when water is escaping from the pipe and hitting other surfaces or when air is trapped in the pipe due to the leak.
- Water Meter Activity. If you think there’s a burst pipe but can’t see any signs, check your water meter. Turn off all water sources at home and watch the meter. If it still shows water usage even when everything is off, there might be a hidden leak, possibly from a burst pipe.
b. Areas Prone to Burst Pipes:
- Basements. Pipes in basements can freeze and burst in colder months. To prevent this problem, insulate the exposed pipes in the basement.
- Crawl Spaces. Crawl spaces are often poorly insulated and exposed to external temperatures, making them vulnerable to burst pipes in freezing weather.
- Areas Exposed to Freezing Temperatures. Any pipes located in exterior walls, attics, or unheated spaces are at risk of freezing and bursting when the temperature drops.
- Old or Corroded Pipes. Old or corroded pipes are prone to weakening and eventually bursting. If your home has older plumbing systems, it’s crucial to watch out for signs of deterioration.
By being aware of these common signs and vulnerable areas, you can act promptly if you suspect a burst pipe. Identifying the issue early can help minimize water damage, prevent further complications, and save you from costly repairs in the long run.
2. Shutting off the Water Supply
After identifying a burst pipe in your home, it becomes imperative to act quickly and shut off the water supply to prevent further damage and flooding. Here is the step-by-step guide on how to shut off the main water supply and isolate the affected area to contain the problem:
a. Locate the Main Water Shut-Off Valve
- In most homes, you’ll find the main water shut-off valve close to the water meter, often in the basement, utility room, or crawl space. Sometimes, it might be outside near the house perimeter.
- Know what the shut-off valve looks like; it’s usually a round or lever-type valve connected to the main water pipe. To turn off the water supply, simply turn the valve clockwise (to the right).
- Sometimes, the shut-off valve might be corroded or hard to operate because it’s not used regularly. In such cases, you can apply lubricant or seek help from a professional plumber.
b. Shutting Off Water to Individual Fixtures and Appliances
- If the burst pipe is limited to a specific fixture, such as a sink or toilet, you can shut off the water supply to that fixture only.
- To shut off the water supply to a sink or toilet, look for the shut-off valves located under the sink or behind the toilet. These are typically small, round, or lever-type valves. Turn them clockwise to shut off the water flow to that fixture.
- Appliances like washing machines and dishwashers, usually have individual shut-off valves located near the connections. Turn off these valves to stop the water flow to the appliances.
Isolating the water supply in this manner can help contain the problem and prevent water damage from spreading to unaffected areas of your home.
By following the steps mentioned above, you can stop additional flooding, safeguard your property, and ensure your home and belongings are safe. After shutting off the water supply, the next steps are to apply temporary fixes and get professional help for permanent repairs.
3. Safety Precautions
Dealing with a burst pipe is tough and can be dangerous. Safety comes first, so before fixing it, follow these crucial tips: Wear protective gear, turn off electrical power if needed, and be careful with waterlogged materials.
a. Wear Protective Gear
When dealing with a burst pipe, it’s essential to protect yourself from potential hazards. Here are some protective gear and clothing items to consider:
- Safety Goggles
- Rubber Gloves
- Waterproof Boots
- Waterproof Apron
b. Turn Off Electrical Power (If Necessary)
If the burst pipe is in close proximity to electrical outlets, switches, or electrical appliances, there is a risk of electric shock. In order to guarantee your safety, adhere to these instructions:
- If possible, shut off the electrical power supply to the affected area. Locate the circuit breaker or fuse box and turn off the relevant circuit or fuse that supplies power to the area with the burst pipe.
- Avoid touching electrical appliances, outlets, or switches in the vicinity of the burst pipe while the power is still on.
- If you are unsure about how to safely shut off the power or if the burst pipe has caused significant water exposure to electrical components, it’s best to consult a licensed electrician to handle the situation safely.
c. Be Cautious with Waterlogged Materials
Water from a burst pipe can quickly saturate building materials and belongings, potentially causing structural damage and promoting mold growth. Exercise caution when dealing with waterlogged materials:
- Standing water can hide hazards and create slippery surfaces. Avoid stepping into standing water unless you are sure it is safe to do so.
- Handle water-damaged belongings carefully to prevent injury. Items may become heavy and structurally compromised when saturated with water.
- Be aware that mold growth can begin within 24-48 hours after water exposure. If water damage is significant, consider contacting a professional restoration service to assess and address potential mold issues.
If the situation is too risky or complicated, get professional help from a licensed plumber or water damage restoration company. Safety comes first, and their expertise will ensure an efficient and secure repair.
4. Temporary Repairs
When a burst pipe happens, acting quickly is vital to avoid more water damage while waiting for professional help or planning for permanent repairs. Temporary fixes with materials like pipe clamps, rubber patches, or epoxy putty can minimize the damage until a plumber can fix the issue correctly.
a. Pipe Clamps
To temporarily stop a leak in a burst pipe, use pipe clamps following these steps:
- Turn off the water supply to the affected area to avoid getting wet.
- Choose a suitable pipe clamp size that fits securely around the burst section of the pipe, with rubber padding for a watertight seal.
- Position the clamp over the burst section and tighten it with screws or bolts. Exercise care to prevent excessive tightening, which could result in pipe damage.
- Turn on the water supply (if safe) and check if the clamp stops the leak. If it doesn’t, reposition the clamp or try another one.
b. Rubber Patches
Rubber patches are a simple yet effective way to temporarily seal small leaks in burst pipes. Follow these steps:
- As with any temporary repair, make sure the water supply is turned off before attempting the fix.
- Clean and dry the burst area of the pipe to ensure good adhesion for the rubber patch.
- Cut a piece of rubber patch or use rubberized adhesive tape. Place it over the leak, ensuring complete coverage. Apply strong pressure to firmly establish a tight seal.
- To ensure a secure seal, hold the rubber patch in place for a few minutes to allow the adhesive to set.
- Once the patch is in place, turn on the water supply (if safe to do so) and check for any signs of leakage. If the leak persists, consider using additional patches or try a different temporary repair method.
c. Epoxy Putty
Epoxy putty is a versatile and durable material that can be used to temporarily fix burst pipes. Here’s how to use it:
- Always turn off the water supply before applying epoxy putty to the burst pipe.
- Blend the epoxy putty as per the guidelines provided by the manufacturer. Wear gloves to protect your hands during the mixing process.
- Once the putty is properly mixed, apply it over the burst section of the pipe. Press the putty firmly onto the pipe to create a secure seal.
- Follow the recommended curing time for the epoxy putty. This typically ranges from a few minutes to an hour, depending on the product.
- Turn on the water supply (if it’s safe to do so) and check if the epoxy putty effectively stops the leak. If there is still water flow, you may need to apply additional layers of putty or try a different temporary repair method.
Remember, temporary fixes are not permanent solutions, and it’s crucial to have a licensed plumber assess and address the burst pipe issue properly to avoid further complications in the future.
5. Preventative Measures
Taking proactive measures to prevent burst pipes is essential to avoid the potential damage and inconvenience caused by water leaks. By following the preventative measures below, you can minimize the risk of pipe bursts and ensure the integrity of your plumbing system.
a. Insulate Exposed Pipes
Pipes exposed to cold temperatures are at a higher risk of freezing and bursting. Insulating exposed pipes is a crucial step to prevent this from happening. Here’s what you can do:
- Use pipe insulation sleeves or wraps made of foam or fiberglass to cover exposed pipes, especially in unheated areas like basements, attics, crawl spaces, and exterior walls.
- Seal any gaps or cracks in walls, floors, and ceilings where pipes pass through. Use caulk or insulation foam to prevent cold air from reaching the pipes.
- Install insulated faucet covers on outdoor spigots to protect them from freezing temperatures during winter.
b. Maintain Proper Heating
Keeping your home adequately heated, even during colder periods, can prevent pipes from freezing and bursting. Follow these heating tips:
- Set your thermostat to a temperature that will keep the interior above freezing, preferably no lower than 55 degrees Fahrenheit (12.8 degrees Celsius).
- In areas with plumbing, like kitchens and bathrooms, open cabinet doors to allow warm air to circulate around the pipes.
- In extremely cold weather, allow faucets connected to vulnerable pipes to drip slowly. The flow of water can help prevent freezing.
c. Regular Plumbing Inspections
Regular inspections by a licensed plumber are essential to detect potential issues before they escalate into burst pipes. Consider the following:
- Schedule annual plumbing inspections to identify any weak points, leaks, or deteriorating pipes in your plumbing system.
- Before the winter season, have a plumber inspect your home for vulnerable pipes and take necessary precautions.
d. Drain and Disconnect Outdoor Hoses
Leaving hoses connected to outdoor faucets during freezing weather can cause water to back up into the pipes and lead to bursts. Take these steps:
- Before winter arrives, shut off and drain outdoor faucets. Disconnect and store garden hoses indoors to prevent freezing.
- Consider installing frost-proof outdoor faucets that have a built-in shut-off valve inside the home’s warm interior.
e. Keep Interior Doors Open
Ensure proper air circulation throughout your home by keeping interior doors open. This allows warm air to flow freely and reach all areas, including those with plumbing.
6. Dealing with Water Damage
Even with quick action, a burst pipe can cause water damage to your home. Here’s how to deal with the water damage effectively:
- Safety First: Prioritize safety by turning off electricity and wearing protective gear.
- Remove Standing Water: Use a wet/dry vacuum, buckets, or a mop to remove standing water.
- Dry Out: Open windows, and use fans and dehumidifiers to dry out affected areas.
- Salvage Belongings: Move water-damaged items to a dry area and document the damage for insurance purposes.
- Prevent Mold: Apply mold inhibitors, ensure proper ventilation, and remove wet materials.
- Professional Help: Consider hiring a water damage restoration company for extensive damage or if you need assistance.
By taking these steps, you can minimize water damage and restore your home to its pre-damage condition.
Hire a Professional Restoration Company
A burst pipe can cause extensive water damage and disrupt your life, but you don’t have to handle it alone. Superior Restoration of Riverside is a reputable restoration company specializing in water damage and emergency plumbing services. They have a skilled team and modern equipment to respond quickly, even 24/7.
When you call them, they will send experts to your location, assess the situation, and stop the water flow. They offer comprehensive restoration services, including drying out affected areas and preventing mold growth. They also provide expert advice on preventing future burst pipe incidents.
With Superior Restoration of Riverside by your side, you can confidently deal with the situation and restore your home.