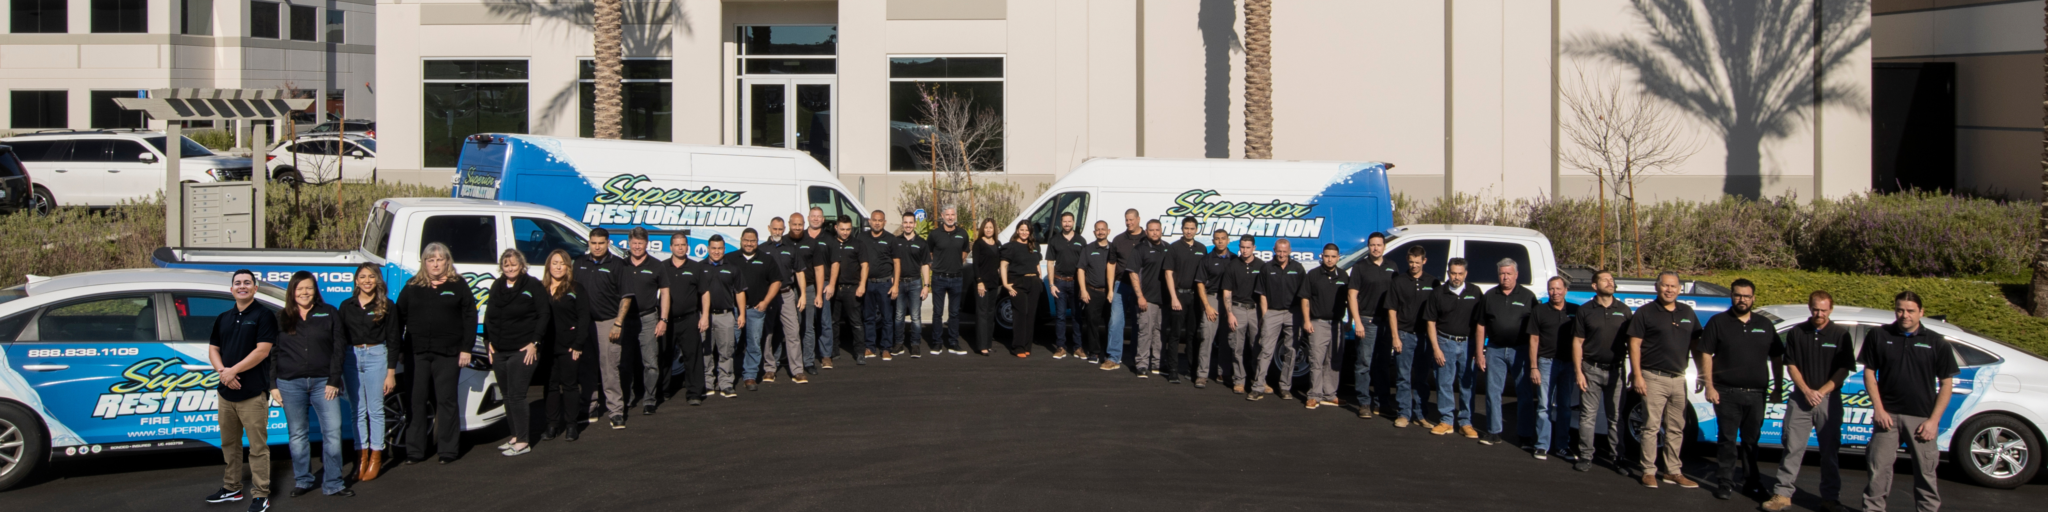
Our team’s #1 Focus is to provide all of our customers with an Exceptional Experience. Period!
How we create Exceptional Experiences:
Fastest response times in the industry
Most competitive pricing in Southern California
Our entire company is hospitality trained
The most professional team in the industry (really)
We have the highest level certifications & restoration experience
We not only provide an Exceptional Experience to our customers but also our employees, vendors/subs, adjusters & we serve our local community through Non-Profit work.
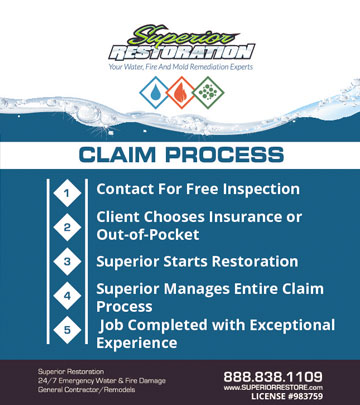
If you’re dealing with water damage to your property in Riverside, whether it’s due to leaks or flooding, you’re likely feeling overwhelmed and unsure of who to turn to for help. Fortunately, Superior Restoration is here to offer reliable restoration services and help you get back on your feet.
We understand how devastating water damage can be, and our team of trained professionals is fully equipped to handle any situation. From minor leaks to major floods, we use state-of-the-art equipment and techniques to deliver the best possible results. At Superior Restoration, we’re dedicated to restoring your home or property to its pre-damage condition as quickly and efficiently as possible.
We know that time is of the essence when it comes to water damage, which is why we respond promptly to all calls for assistance. Our goal is to minimize damage and get your home or property back to a livable condition as soon as possible. You can trust us to care for your home as if it were our own, and to work tirelessly until the job is done to your satisfaction.